Raspberry Pi geekery
Setting up a Raspberry Pi web server
I was after a Blink(1) but wanted to use it for more than just being connected to my computer and use with IFTTT, so I bought a Raspberry Pi as well with the intention of using it to do cool stuff with the Blink(1) API. But I figured that the first thing to attempt was just setting up the Pi as a webserver.
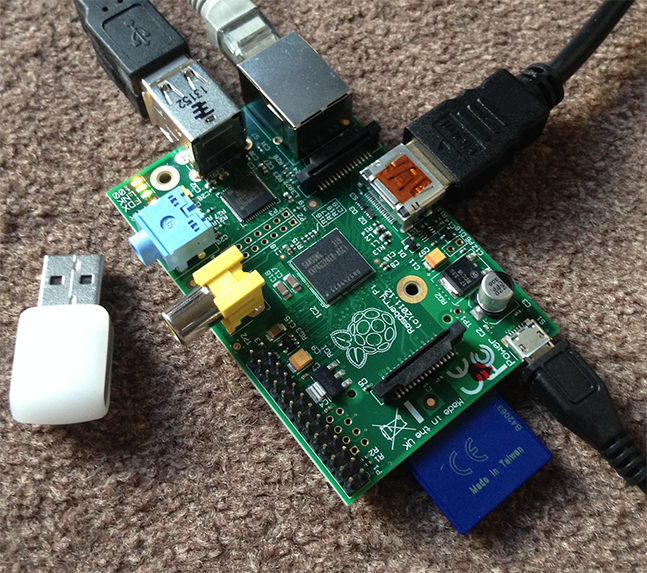 Blink(1)mk 2 and Raspbery Pi Model B+
After installing Raspbian on my Pi the first thing I decided to do was get apache up and running:
Fire up the terminal program. Update all installed packages with apt, the default package manager for Debian flavoured linux:
aptitude update
Install apache:
sudo apt-get install apache2 -y
Go to http://localhost/ and the default index.html page with "It works!" should appear. Easy! You have a webserver.
Now to add your own content to the web page, just edit with nano:
sudo nano /var/www/index.html
Save with ctrl x and take a look at http://localhost again. Php files are also supported of course.
Until this point I had the Pi connected to my TV via HDMI along with a keyboard and mouse. This is handy for accessing the GUI, but seeing as I'll only be working in bash it's much easier to connect via SSH from my main computer.
It's best to set a static IP address for your Pi, that way every time you SSH into it, you won't have to check if a new IP has been assigned. Here's a nice tutorial on that.
Accessing your Pi webserver from outside your home network
In order for anyone to view your Pi hosted website, you just need a domain name pointed at your external IP address. Of course you'll need a static IP address for this to work.
I logged into my BT hub and set up port forwarding for web traffic to the Pi, which was listed as a device. This will vary for different routers, but there should be an option to forward traffic on port 80.
That's it! http://home.alexwatson.co.uk now shows a site hosted on my Pi.
Then the real fun begins... next up is getting started with the Blink(1) API.
Leave Your Comments
blog comments powered by Disqus